

Register your Epicor instance
An administrator does this once for each Epicor environment. If your organization already has a working instance, connect your AI client instead.
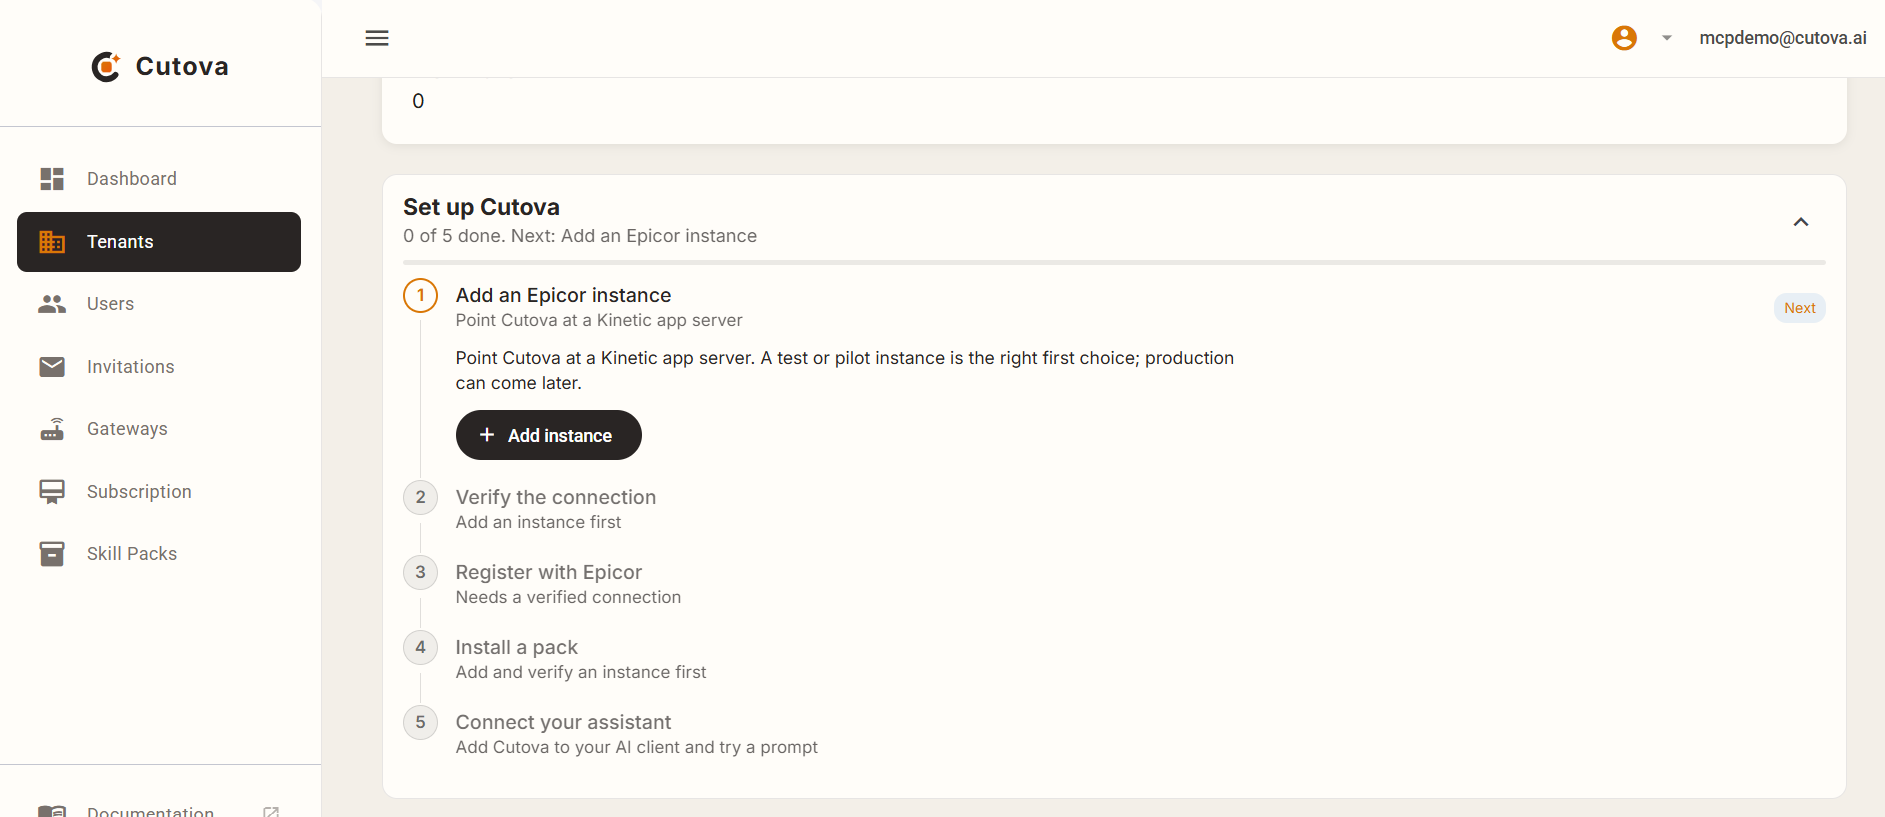
The organization page has a Setup guide for adding, testing, and registering an instance, then installing a pack. For an existing instance, click Show guide if you want to open those steps. When several instances exist, check Target instance before taking an action.
Create your Cutova account
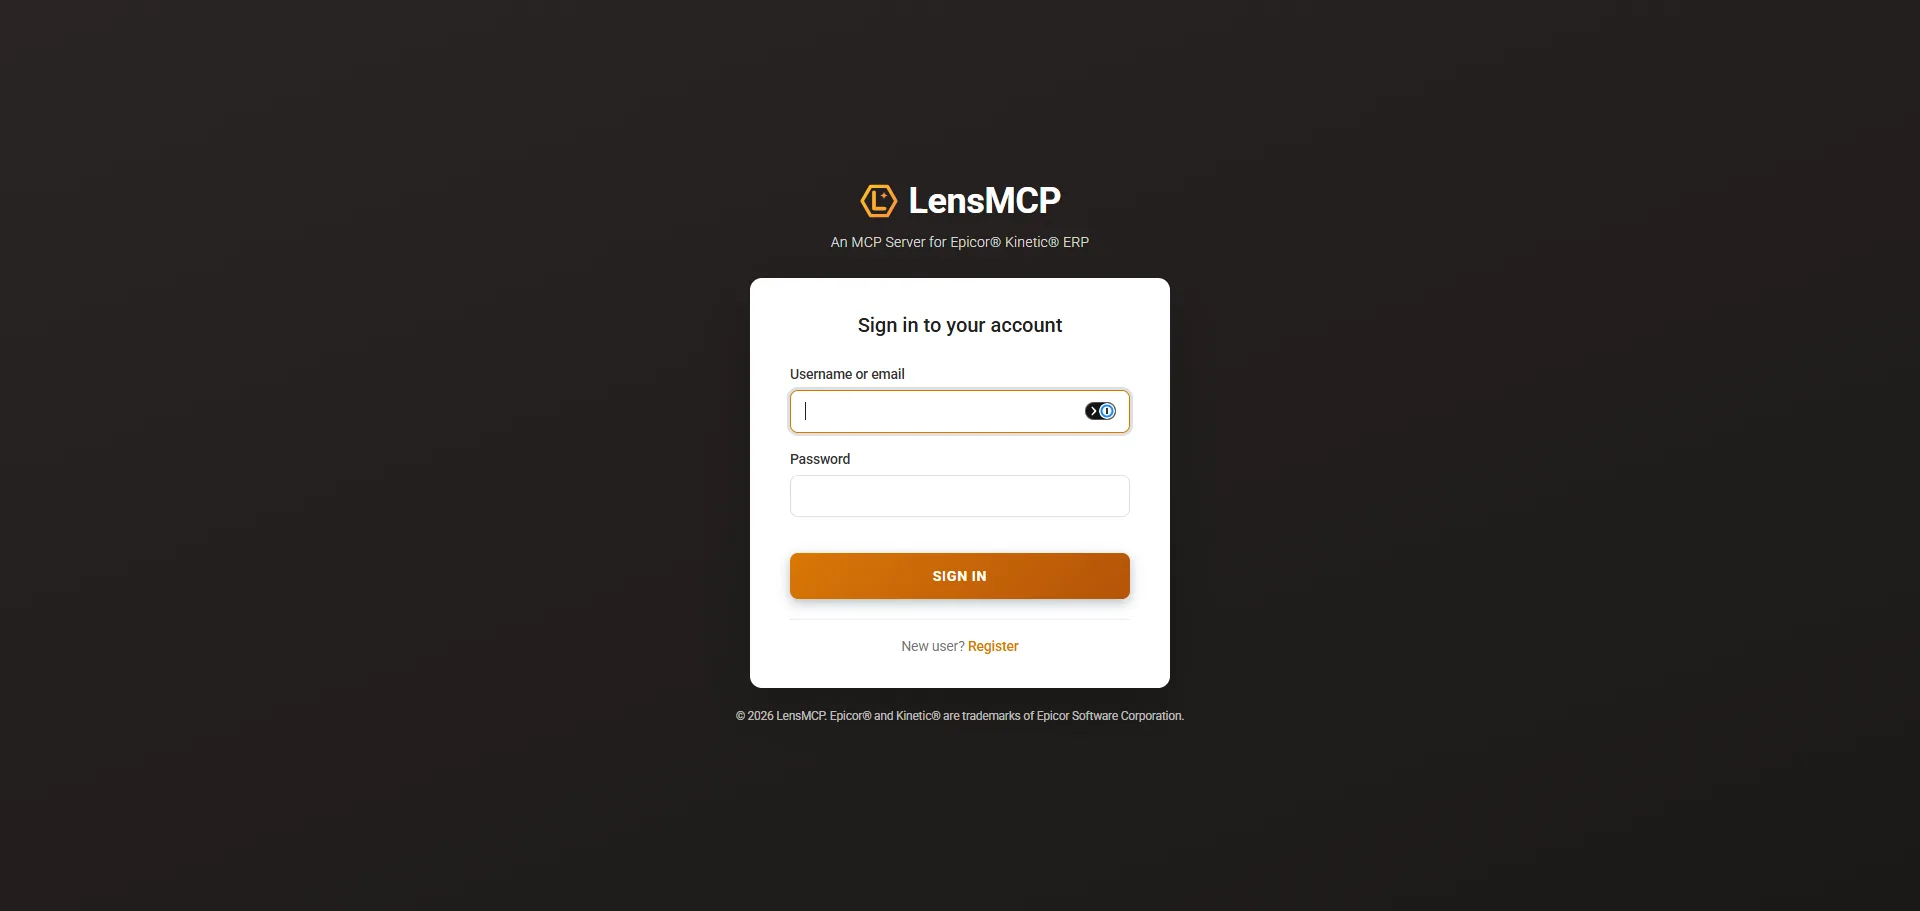
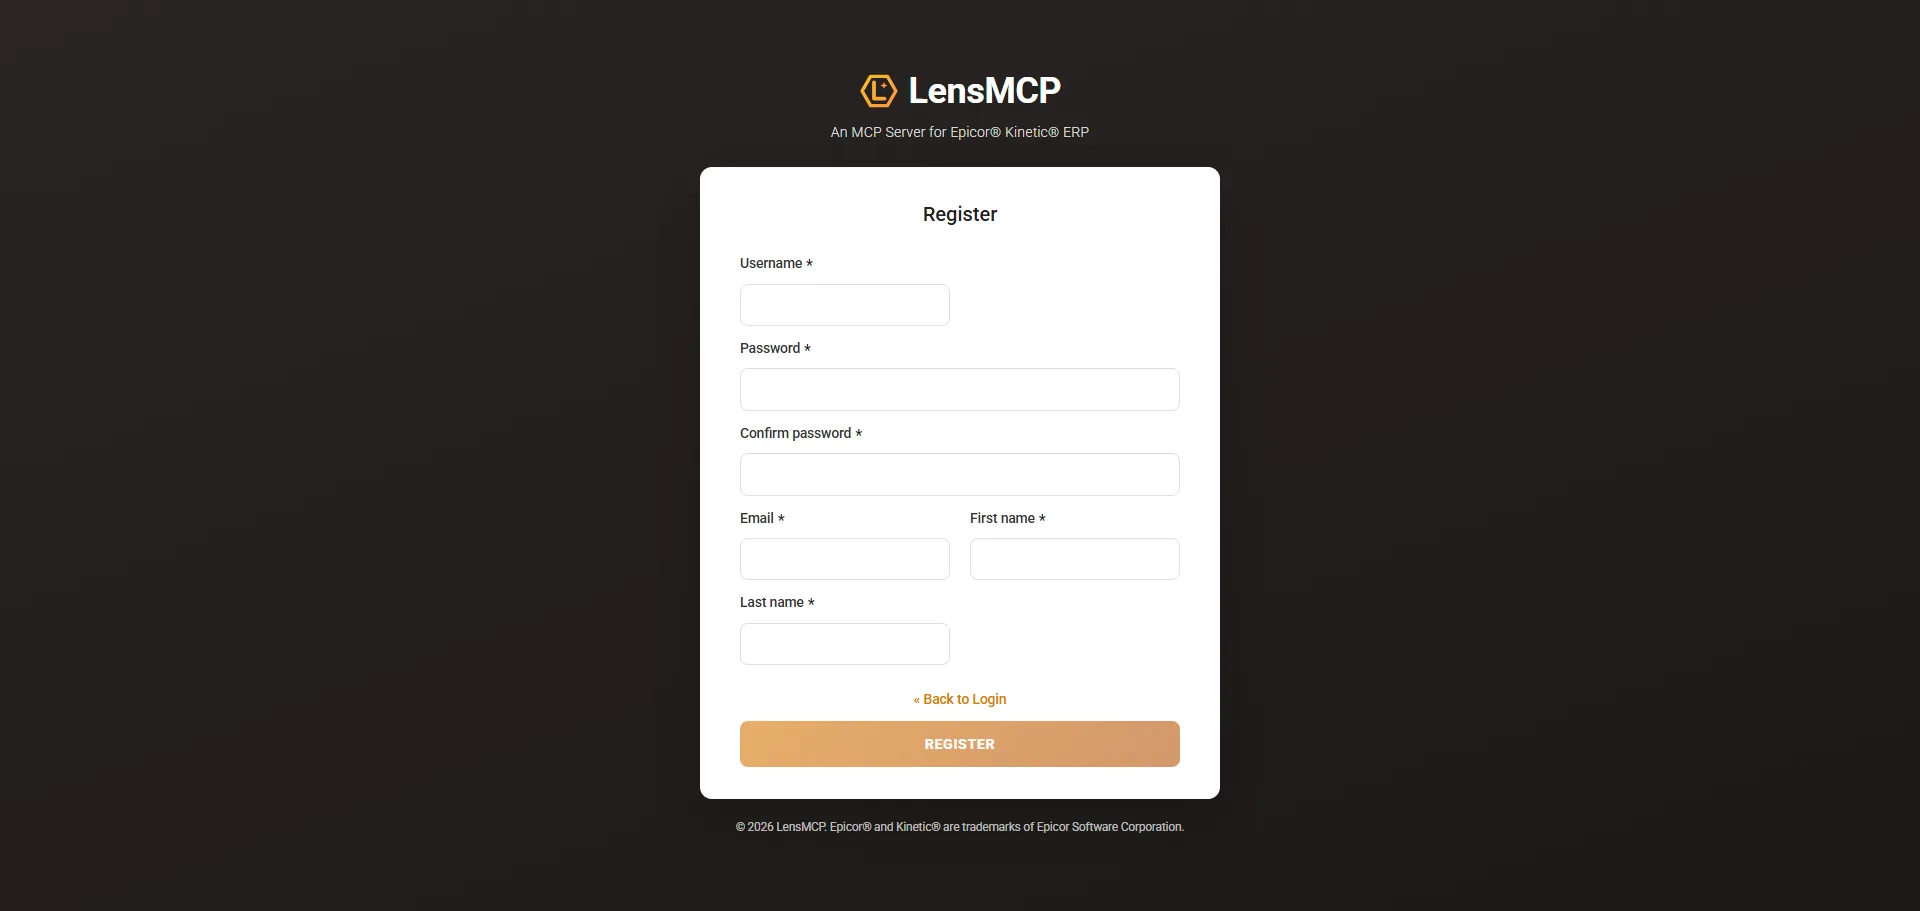
Section titled “Create your Cutova account”Open the Cutova console and click Register if you need an account. Complete the account verification prompts.
For a new organization, follow Name your organization, Choose a plan, and Accept the Terms of Service. Choose Free for ongoing free access, or an eligible paid plan for a 14-day free trial. Click Start free trial for a trial, or Finish setup for Free. No credit card is required to start a trial. The trial starts when signup completes. The console shows its end date. Enterprise requires contacting Cutova. See trial and billing guidance before choosing how to continue. Current prices and limits are on the pricing page and in the console.
You need the Admin role to register an Epicor instance. If a colleague invited you, they set your role.
Step 1: add the instance
Section titled “Step 1: add the instance”The console calls your organization a tenant. Instances belong to that tenant. Use Add instance in its setup guide, or follow the table route below.
-
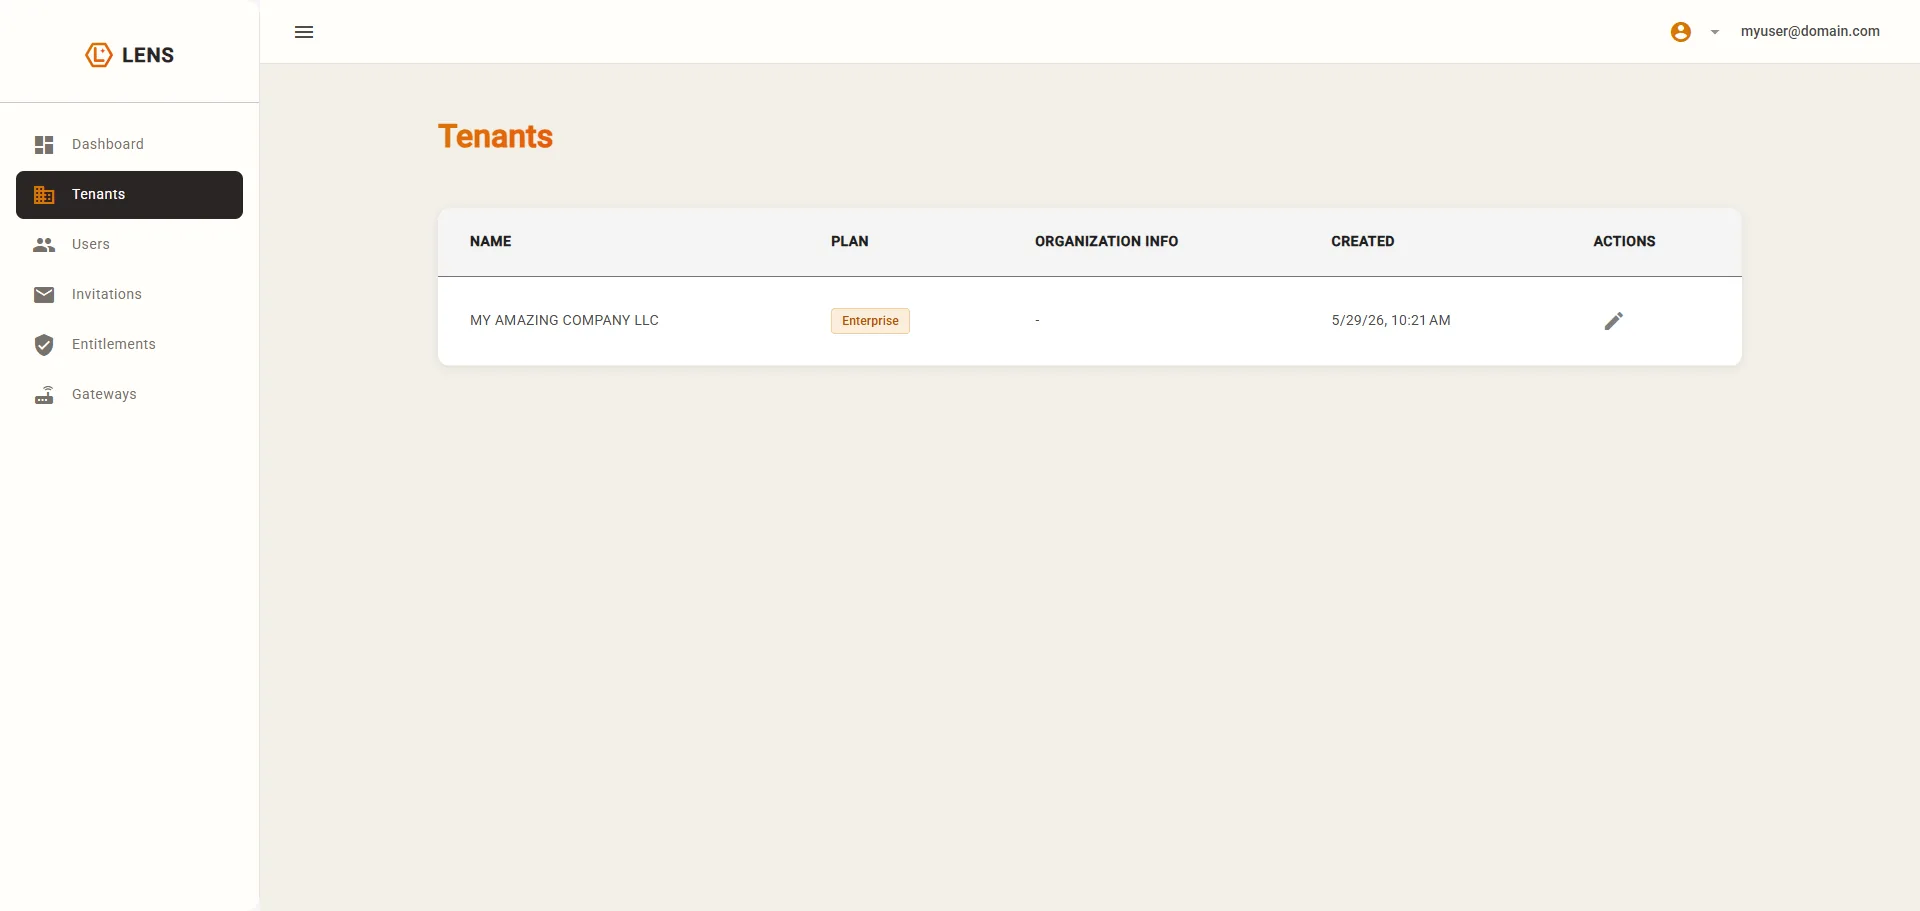
In the sidebar, click Tenants, then open your tenant.
-
Scroll to Epicor Instances and click + Add Instance.
If the button is greyed out, you are at your plan’s instance cap: the note under it says how many instances your plan allows and how many this tenant has. Remove one you no longer use, or ask us to raise the limit. Your existing instances keep working either way.
-
Fill in Create Epicor Instance:
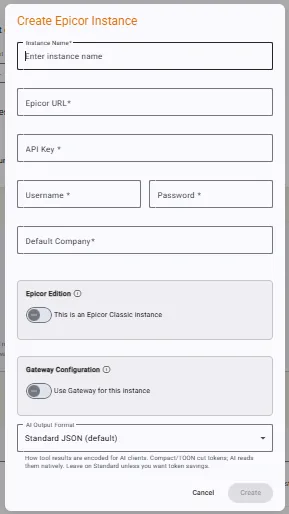
Field What to enter Instance Name How it appears in the console. Any label you like. Epicor URL The application server URL, with the port if it uses one API Key Your Epicor API key Username and Password The service account Default Company Used when a person has not chosen one Epicor Edition Turn on only for a Classic (pre-Kinetic) environment Gateway Configuration Turn on only if Epicor is not reachable from the internet, and only after the gateway is connected AI Output Format Three choices: Standard JSON (the default), Compact JSON (fewer tokens) and TOON (most compact for tables). Leave it on Standard unless token cost is a concern. -
Click Create.
Step 2: register with Epicor
Section titled “Step 2: register with Epicor”Open the new instance and click Test Connection first. Register with Epicor only appears once the connection has been tested, because it needs to reach your server.
Then click Register with Epicor. This is a three-step wizard, and it is the step that actually turns the connection on. Saving the instance only stored the details.
Download the solution
Section titled “Download the solution”Click Download MCP-Solution.cab.
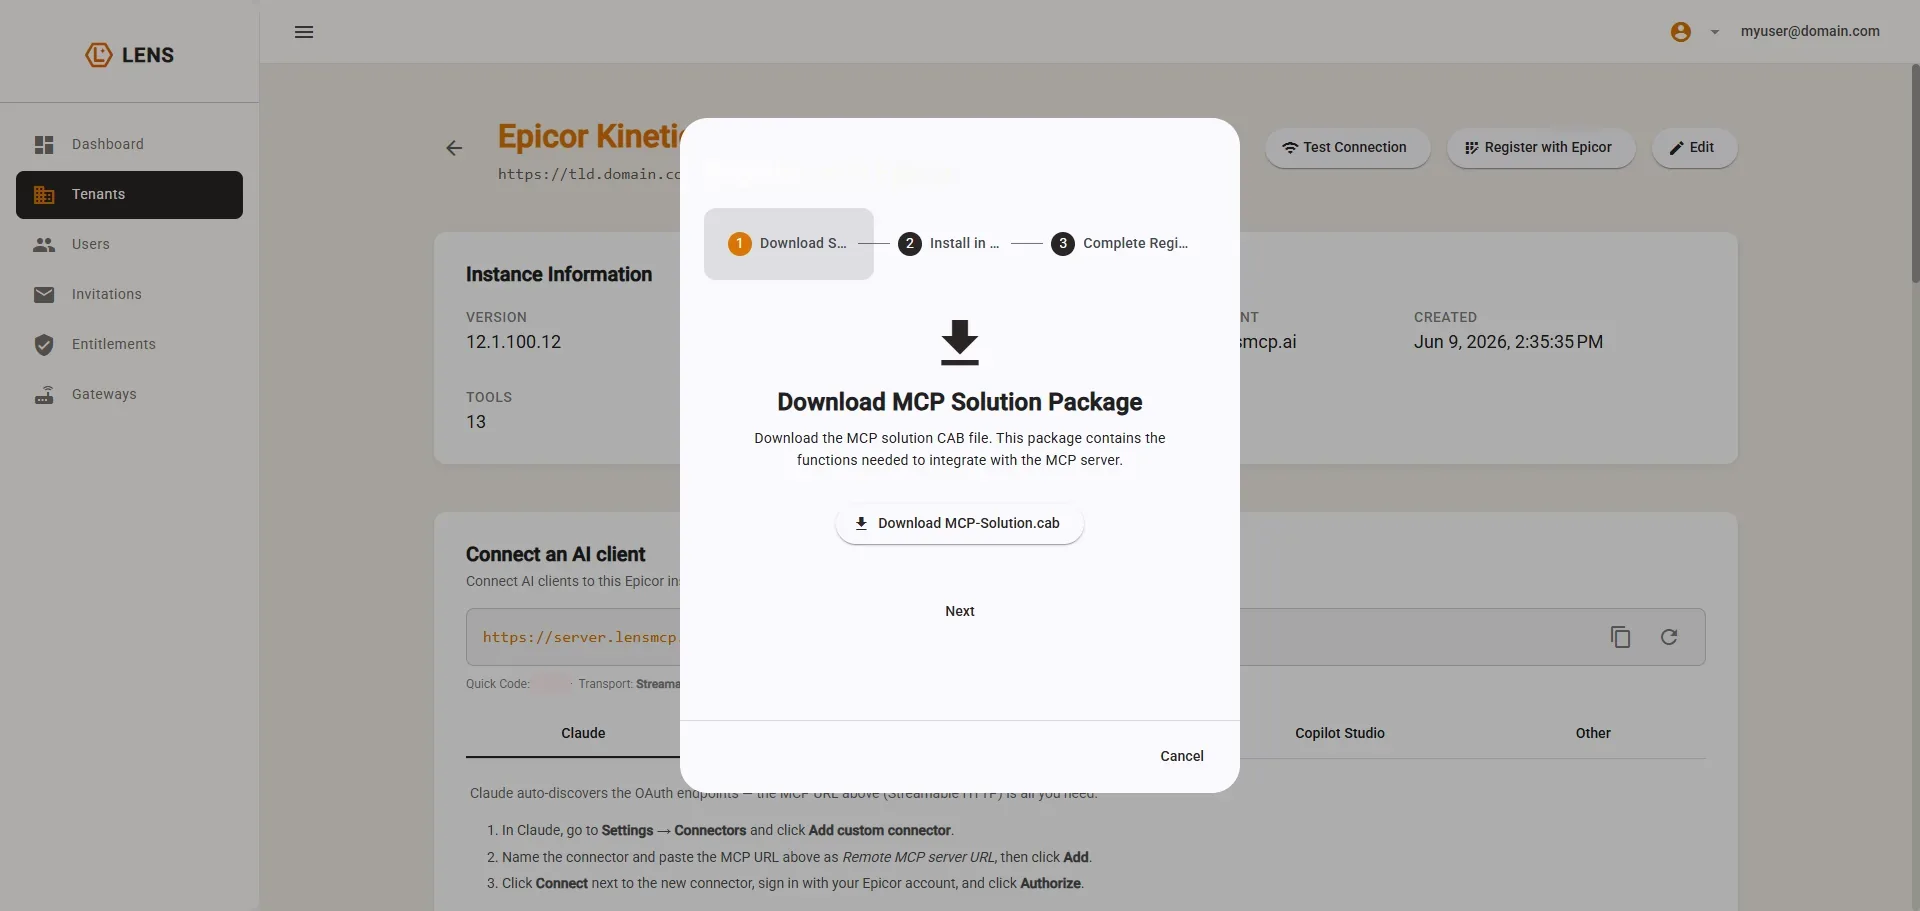
What is in the package: four Epicor Functions, two sign-in screens (Kinetic and Classic) and
the menu entries that reach them. It reads and writes four Ice.SysConfig rows and touches no
business data.
Read What is in the solution package for its components and verification steps. Pack solutions are separate downloads with their own Epicor components.
Download the current file from the console each time you install the solution.
Install it in Epicor
Section titled “Install it in Epicor”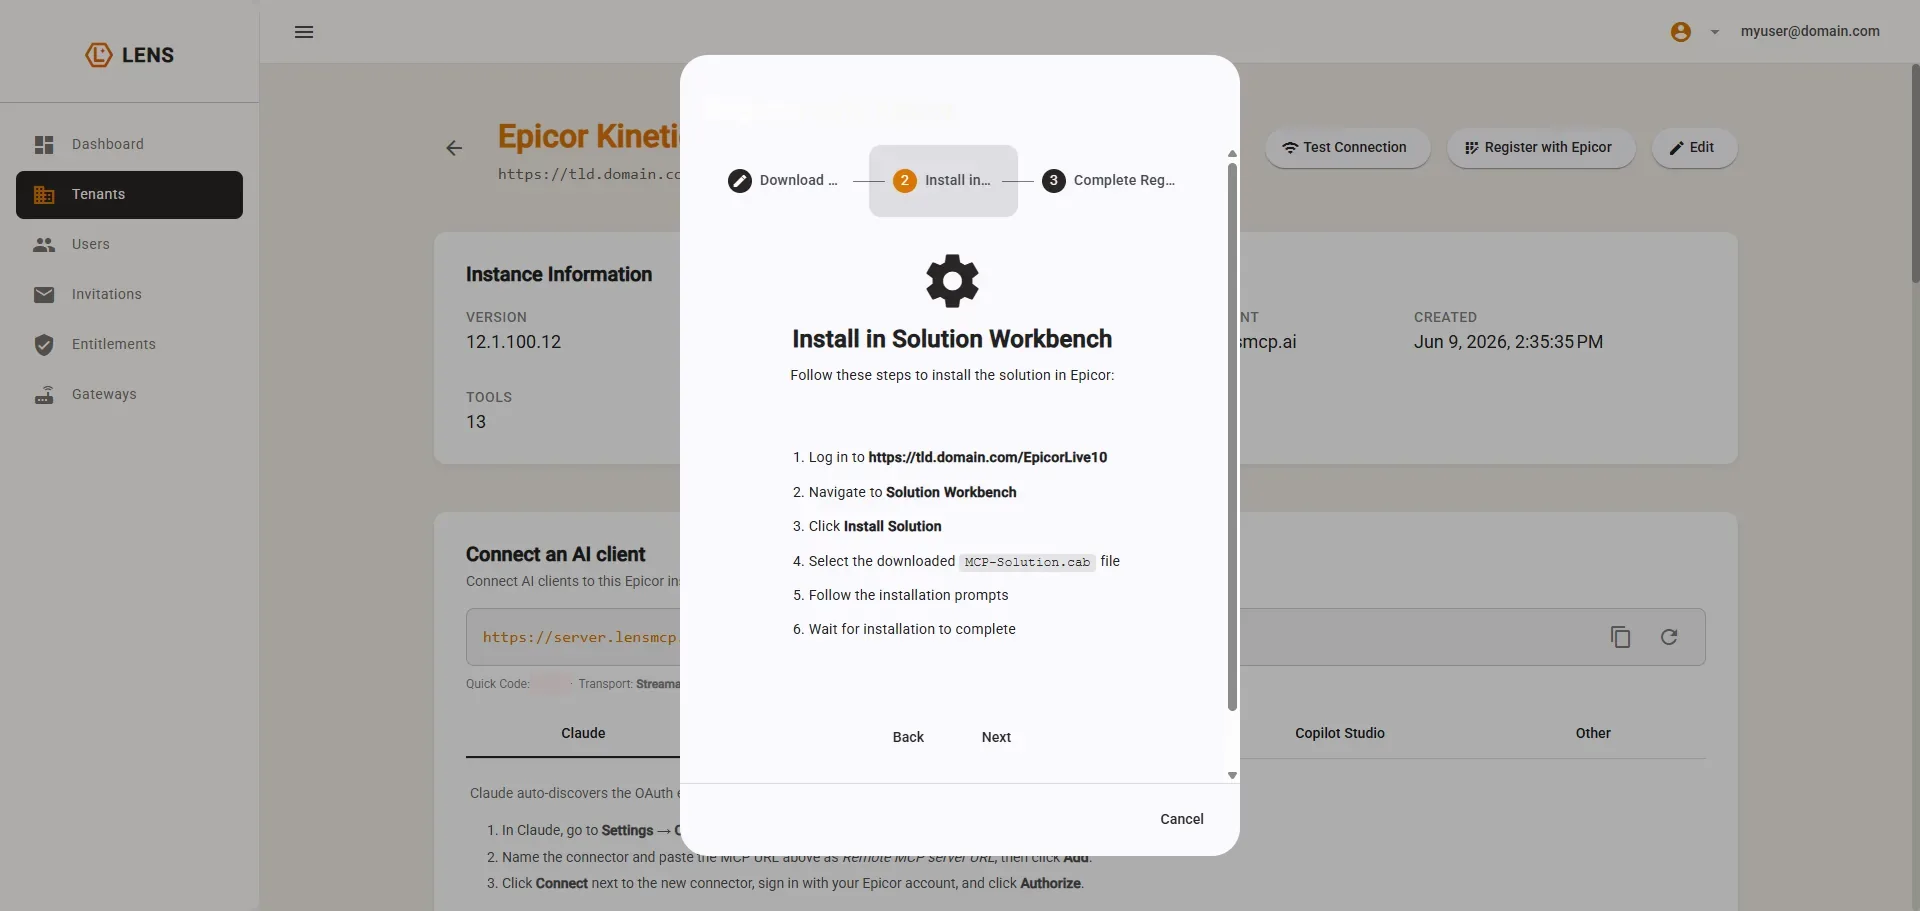
- Log in to your Epicor environment. The wizard shows the URL.
- Go to Solution Workbench.
- Click Install Solution.
- Select the
MCP-Solution.cabfile you downloaded. - Follow the prompts and wait for the install to finish.
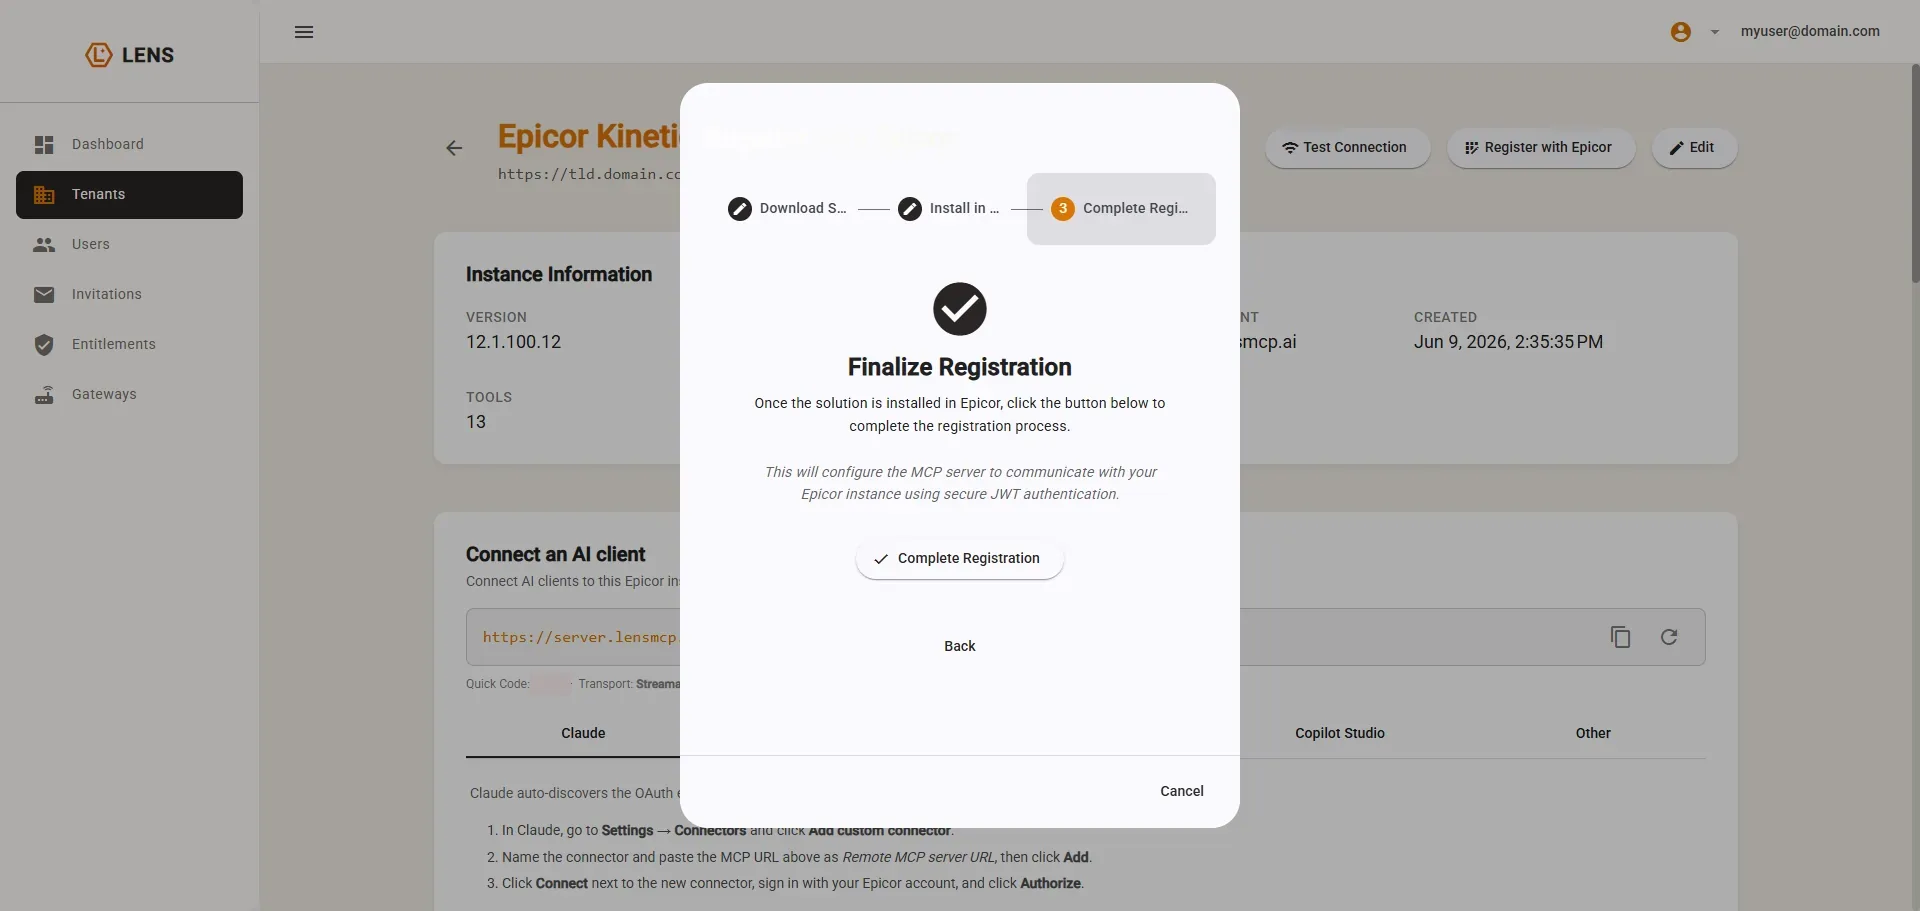
Complete the registration
Section titled “Complete the registration”Come back to the console and click Complete Registration. This configures Cutova to talk to your Epicor instance using signed tokens.
Step 3: confirm
Section titled “Step 3: confirm”Open the instance to review its connection status. Then confirm registration with an actual client sign-in.
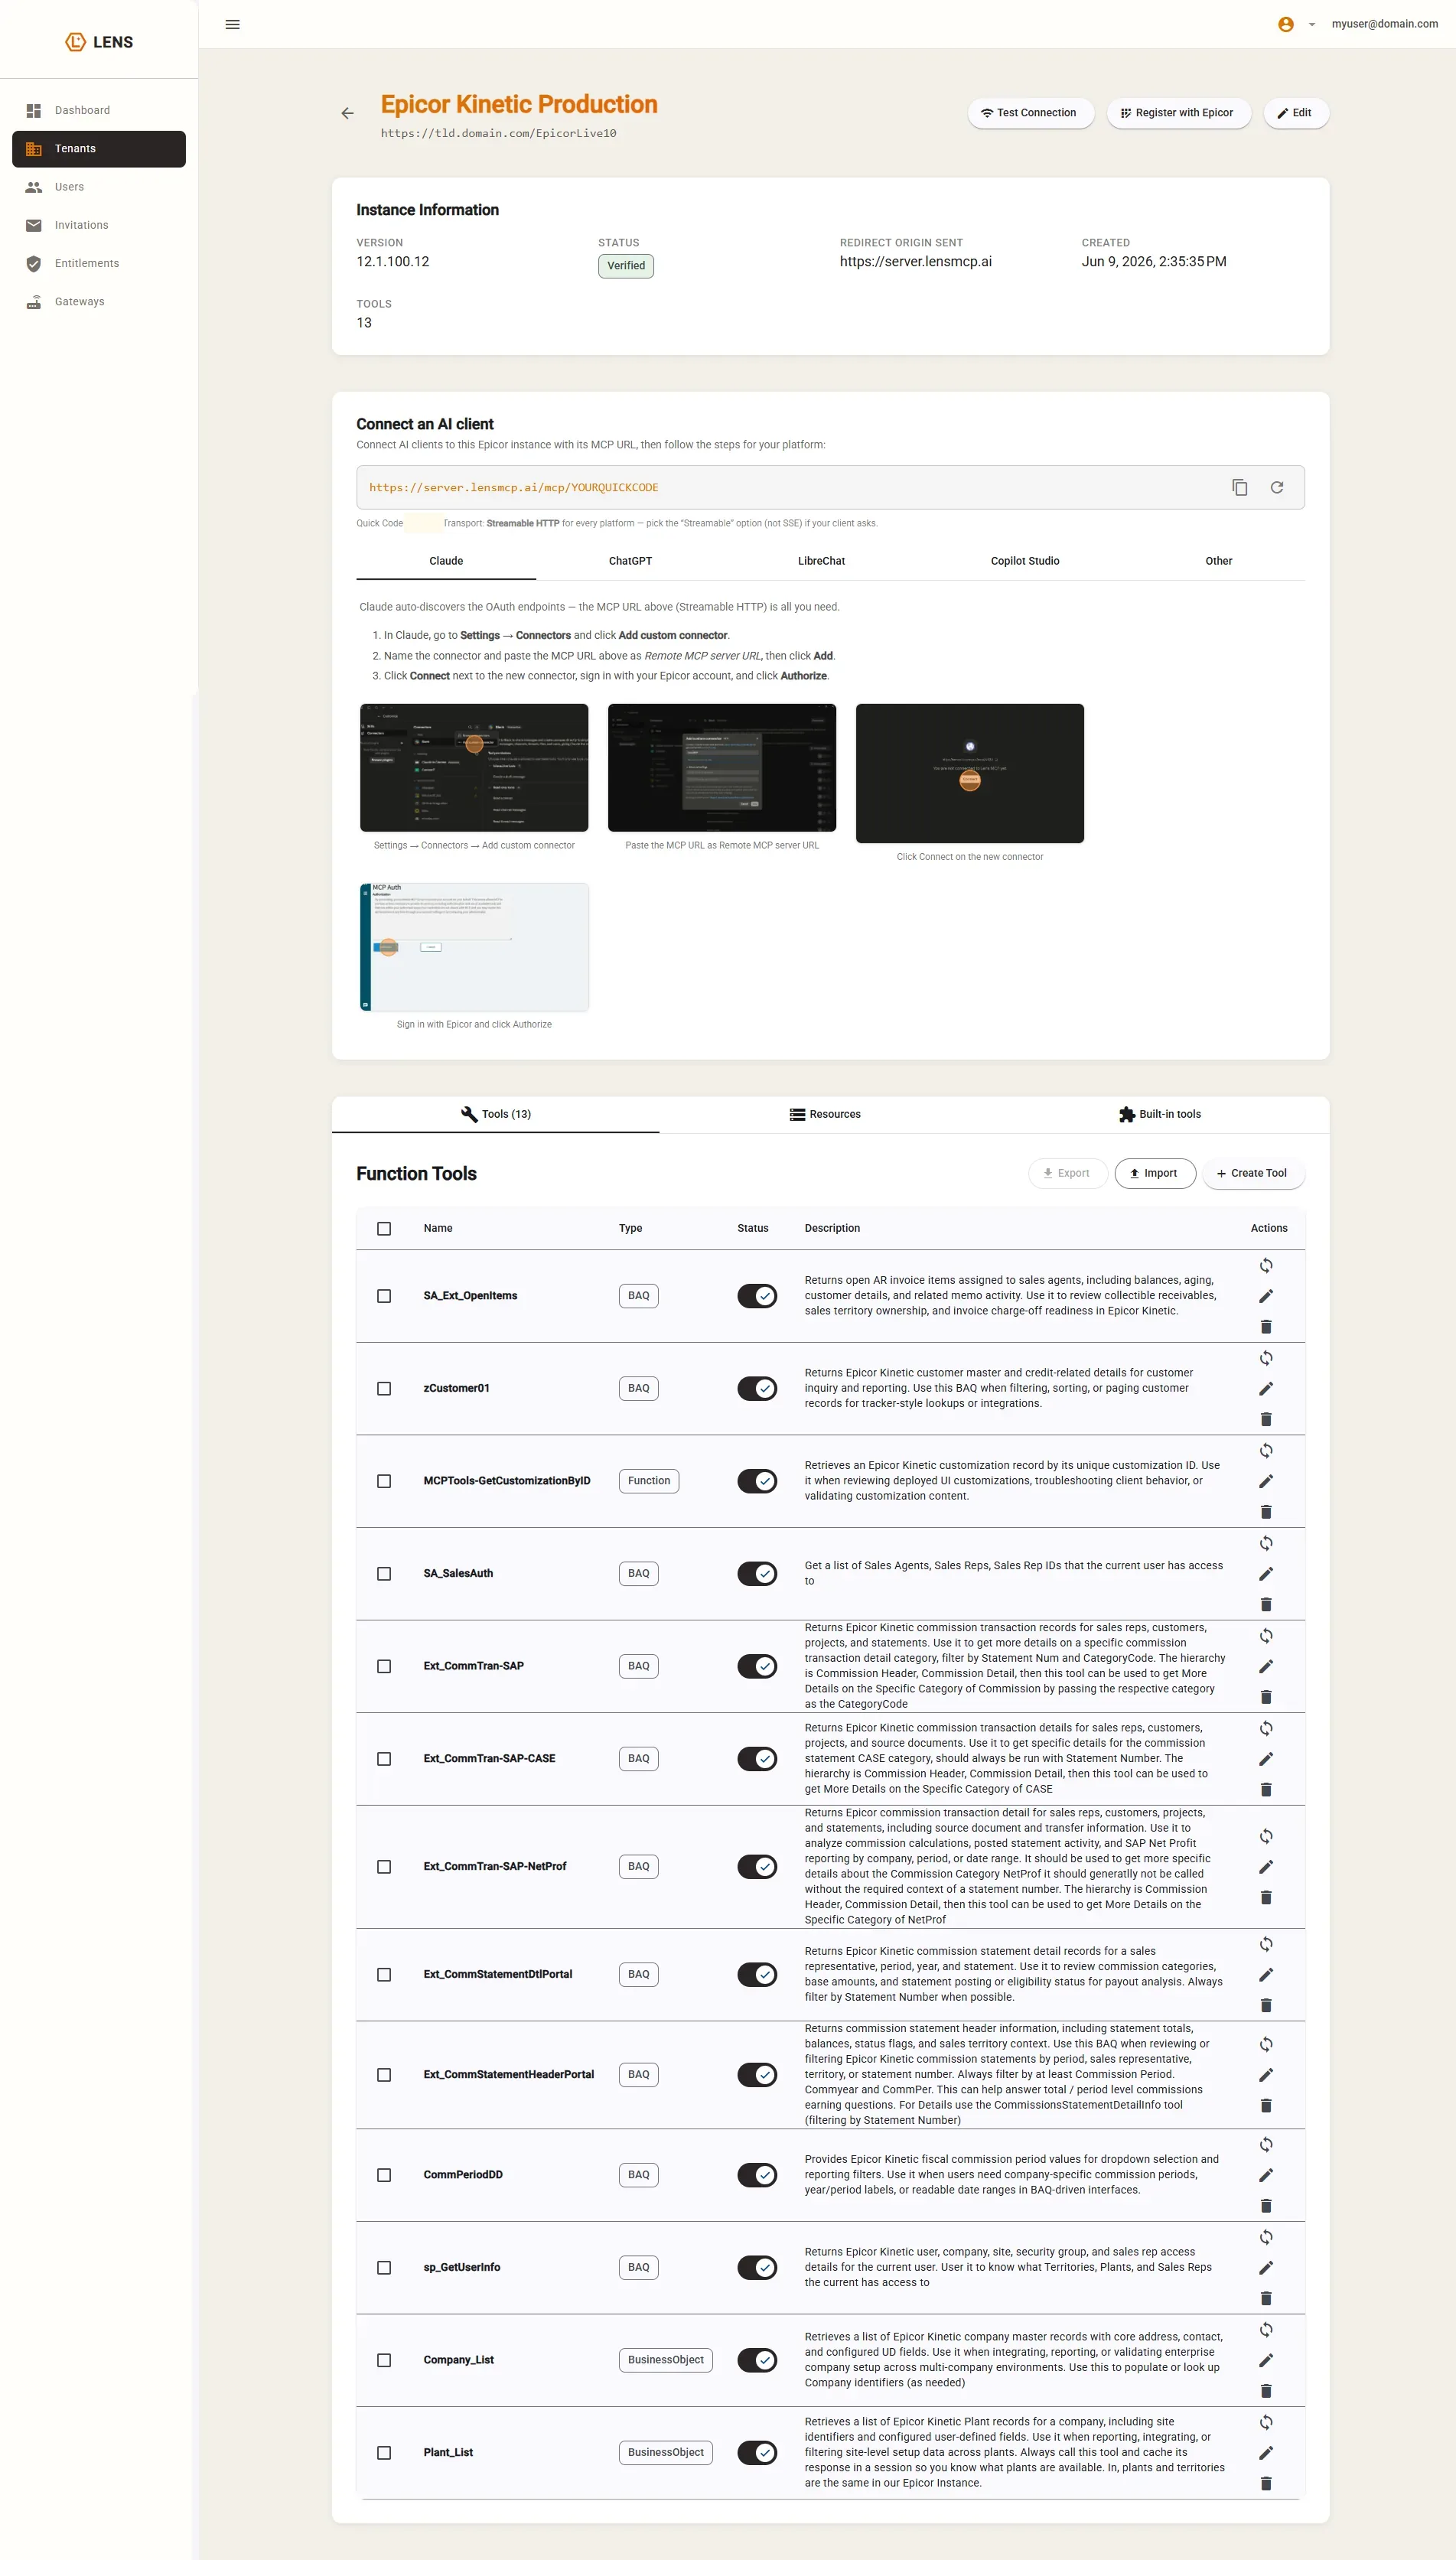
| Field | What it means |
|---|---|
| Status | Verified: Cutova can reach your server. Set by Test Connection. |
| Version | Your Epicor version, read back from the server |
| Redirect origin sent | Progress information only: see below |
Test Connection re-checks reachability at any time.
The real confirmation is a working sign-in. Connect a client and authorise it. If that works, the registration did.
Your MCP URL
Section titled “Your MCP URL”The same page shows the URL your AI clients will use:
https://server.cutova.ai/mcp/YOURQUICKCODEThe quick code is a short identifier for this instance. It also appears in the Epicor Instances table. It is not a secret, but every client points at it, so keep it stable.
One environment, one Cutova tenant
Section titled “One environment, one Cutova tenant”An Epicor environment can serve only one Cutova tenant at a time. If a second tenant registers the same environment, it takes over and the first tenant’s users stop working. Do not register a shared test environment from two tenants.
Next: Install Executive Insights or another pack, or publish your own tools. Then connect your AI client and confirm a real result.
Epicor® and Kinetic® are trademarks of Epicor Software Corporation. Cutova is an independent product and is not affiliated with, endorsed by, or sponsored by Epicor Software Corporation.
Cutova, a product of Lens Software LLC